Labels
articles
(128)
battle report
(5)
black templars
(17)
blood angels
(26)
blood ravens
(25)
crimson fists
(22)
Dark angels
(41)
Deathwatch
(12)
grey knights
(12)
Heroes of Badab
(19)
imperial fists
(26)
iron hands
(31)
legion of the damned
(1)
luna wolves
(11)
Modelling
(30)
Modelling tutorials
(11)
Painting
(47)
painting tutorials
(9)
raven guard
(28)
salamanders
(23)
Sons of Orar
(13)
space wolves
(11)
ultramarines
(22)
whitescars
(26)
Showing posts with label painting tutorials. Show all posts
Monday, 1 December 2014
Painting reflection - my top 10 tips to pass on.
Hi guys,
This is a bit of an unusual post. Basically I've been rooting through my blood angels in preparation for a clear out / update. Seeing a host of models which I've painted both recently, 5 years ago when I got back into 40k (blood Angels have always been my favourite army) and the odd one from some 20 years ago when I very first discovered 40k put things into perspective for me as to how my painting has improved over time. I've never really followed any painting tutorials as such and so what I've learned I've picked up through experience, trial and error. However, I decided to type up a rundown those things I've found most beneficial in the hope they may be of use to others hoping to improve their painting techniques.
10: Preparation is key
In more ways than one. Having the correct paints, tools, brushes, clean water, a palette and a well lit place to paint is vital. Setting aside a reasonable amount of time (half hour minimum) is also important to actually progress. Music often helps to keep things interesting, and of course having your model prepared so that it is trimmed, based and primed properly is essential. If not, any hard work you put in after that will fall short.
9: Do a test model
If you're starting a new army then forget about batch painting to start with, that can come later. Spend the time doing a test model through to completion and be sure you're happy with the result. Make notes of which paints you used in which order and that way you can always come back to the project later and not forget, thus leaving yourself with models that don't match.
8: Set realistic goals
Slightly ironic tip this one seeing how many models I still have to paint. There's nothing more soul destroying, however, than never seeming to make progress with a project. Organisation, time management and commitment feature heavily in this, but so does being realistic with what you can achieve. Decide on your priorities then take it from there. I for example prefer to tackle a whole army at once, get it all assembled, undercoated then base coated. I will then leave it a while and revisit later knowing in the meantime I can still stick it on a table and game with it. If instead you do a single unit to perfection then you have a gorgeous set of minis but can't use them to game with until they have some buddies.
7: Right tools for the job
This mostly pertains to brushes. Get plenty and treat them well. Cheaper brushes are fine for base coating and drybryshing but for the detail work you need good, fine tipped brushes. At least 3 sizes. Even if you're having a batch painting session, wash the brush out completely every minute at least and redefine the point. Change water frequently, thin the paints with water or thinner and use a mixing palette.
6: Basecoat
Once the model is appropriately primed of course. Mostly I use army painter black spray and touch up any missed areas with abaddon black. Sometimes white priming is better, such as with yellow. The new base paints (especially in spray format) are ideal for any colour. Best to start with a couple of thinned coats and add any other colour layer to that after. It's vital to get the base coat correct - too thin and every painting step from then onward will suffer for it. Too thick and the mini will be doomed from the start also.
5: Highlights
The difference between average and great minis often comes down to highlights. With the ranges available now this is much easier than it used to be as you don't often have to mix colours. I generally use 2 highlights. Move on from your base colour with the next lightest. Sometimes this may only be subtle but make sure you cover all the edges to be highlighted with it. Then I pick the final highlight, a colour which if used as the first highlight would have looked too gaudy and bright. However, by just applying it to the highest raised areas and sharpest corners you can give the impression that light is catching that a little bit more and make your mini stand out. Don't be afraid to invent your own highlight on curved surfaces either. Use a fine brush for all highlights.
4: Shading
Equally as important as highlighting is shading. Some areas will call for being drenched in shade, where others simply call for a delicate application with the detail brush. Consistency is key also, as you want to leave some of the wash behind without drowning the area. Glazes are a bit trickier but can be great for thinning the veil between super bright highlights and dark shading.
3: Batch painting
To tie everything together nicely you can now try doing all of the above to a squad all in one go. Generally you'll apply each stage of each colour to all models at the same time. This allows not only better time efficiency but also saves on paint wastage and allows your unit to develop equally over time. For example you may spend a couple of hours doing all the base colours on a unit of tactical marines then wash at the end. By the time you're done they're tabletops ready. Next time you may do all the highlights. The time after that touch things up, base and varnish.
2: Finishing touches
Speaking of which, time to talk about finishing touches. Depending how you've chosen to do things your model may not even be armed / based by the time it's finished. A good basing theme can make an average army into a great one. Conversely, a poor base can make a great mini look bland. Details such as scrollwork, lenses and decals add to the beauty and interest if the model. Battle damage and weathering are more advanced techniques which can turn a beautiful yet pristine mini into one that really looks like it has fought on the battlefield. Finally, varnish should never be forgotten as without it your poor mini is just asking to be chipped and damaged. I use matt spray (careful to use the right distance and temperature) then touch up shiny areas with a blob of gloss.
1: Learn and grow
I learn new techniques and tricks all the time by either reading blogs or just experimenting. Just because you reach one level doesn't mean you can't be happy with that, but there's always more scope to grow and progress. Set new challenges, find inspiration in wd, try out a new army or expand / ally in an existing one. Without a new challenge things will stagnate and that's when the hobby becomes boring. Things can always be revisited later after a break and there's nothing like an upcoming event or a project log to motivate you to pick up the brush. Share your work, take on compliments and advice and never look upon it as a chore as that's the moment it ceases to be a pleasure.
That's all folks, I hope it's been useful. Cheers.
Tuesday, 15 October 2013
Sons of Orar Captain Showcase (plus how to paint red armour)
Hi folks,
This chap just kind of happened over the weekend. Back story was that I have a fanfic that I've been writing on and off over the past few years. It's a Sons of Orar trilogy that may one day be finished (who knows) and it inspired me to paint up a model to represent one of the more minor characters, Captain Tanaka. It was also an excuse to paint up the new captain model, a gorgeous figure, but one who I didn't really feel had a place in any other armies due to his Ultramarine-like head crest. Anyway, he took about 4 hours I reckon and was a pleasure to paint. If I ever do any more sons of Orar though I'll paint the white areas seperately with a white undercoat - from black is just too many layers!
Also, here's a mini-guide on how to paint red armour:
1 - paint a good base coat of mephiston red, 2 layers may be needed but don't paint it on thick.
2 - moderately wash with carroburg crimson.
3 - once dry, repaint with mephiston red leaving the recesses alone.
4 - highlight raised areas with evil sunz scarlet.
5 - final highlight the extremes of the raised areas with wild rider red.
6 - glaze the whole model with bloodletter to tie all the colours together.
Tuesday, 1 October 2013
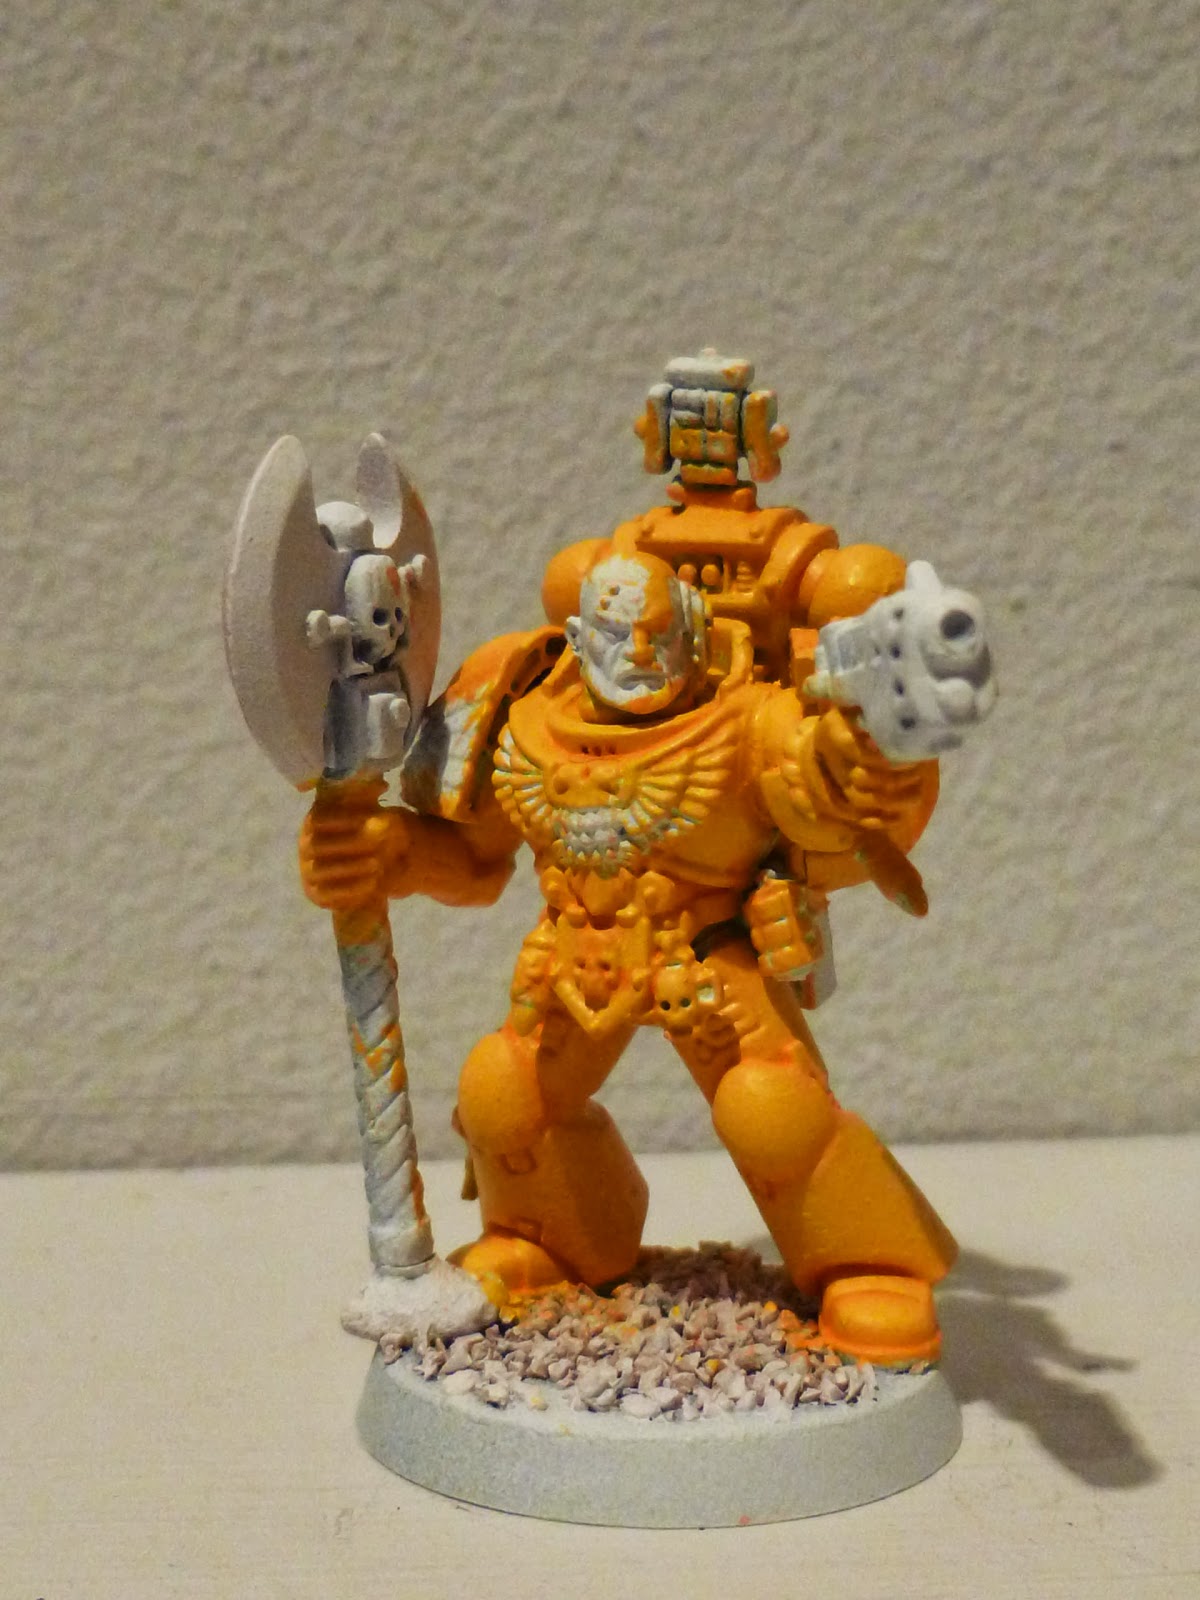
How to paint Imperial Fists - a tutorial / painting guide (plus plasma / power weapon painting)
Hi folks,
Seems appropriate after the Games Day reveal that my next painting guide will be Imperial Fists - 3rd company no less! This is quite a complex one but the results are awesome so please give it a try.
Paint list:
Ceramite white
Abaddon black
Khorne red
Balthazar gold
Leadbelcher
Caledor sky
Rakarth flesh
Whitescar
Yriel yellow
Flash gitz yellow
Evil sunz scarlet
Fire dragon bright
The fang
Fenrisian grey
Eshin grey
Dawnstone
Squig orange
Doombull brown
Runefang steel
Gehenna gold
Auric armour gold
Teclis blue
Lothern blue
Temple guard blue
Lamenters yellow
Nuln oil
Agrax earthshade
Druchii violet
Reikland fleshshade
Lahmium medium
Ardcoat
1 - Basecoating - by far the most important step in painting an imperial fist. My method relies on a white base coat. I cannot emphasise enough how important a good base coat is for this method, and so would recommend a thin layer of ceramite white, followed by spraying the model white, and then another layer of ceramite white making sure you cover everything. Preparation is key.
2 - Yellow armour - add a few thinned layers of yriel yellow to the model giving an even coat. Add some lahmium medium to fire dragon bright and wash it into the recesses of the armour - don't worry if it isn't precise. (note, the citadel yellow wash may be good for this step also) Next, go back over the armour with yriel yellow tidying any excess orange. Add highlights using flash gitz yellow, then a final line highlight using dorn yellow (or mix FG yellow 1:1 with whitescar as I did). Finally, glaze the armour with lamenters yellow.
3 - red parts - with the yellow dry, move onto the red areas. Khorne red as a basecoat, followed by evil sunz scarlet highlights and a wash of carroburg crimson. Retouch the ES scarlet highlights when dry.
4 - face - OPTIONAL - I basecoated the face with cadian fleshtone then washed it with reikland fleshshade. Once dry, I mixed some rakarth flesh 1:3 with cadian fleshtone and added a full layer except in the recesses. Then I increased the ratio of the rakarth flesh in the mix adding a highlight layer on the raised areas. This was repeated a couple of times until the ratio was 3:1. Next I painted the eyes with whitescar and pupils with abaddon black. A thin wash of druchii violet was added around the eyes. Finally, eshin grey was painted on the beard, highlighted with dawnstone.
5 - black areas - the most dangerous part so take your time and use appropriate sized brushes with the paint appropriately thinned. Mixing abaddon black 1:1 with nuln oil can be useful for a nice flowing mix. Paint the majority of the black area with a larger brush then switch to smaller for where it meets the yellow. If you do make a mistake you can always use ceramite white to correct it later. Abaddon black for the areas, then highlight with eshin grey and dawnstone. (except for leather pouches which were highlighted with the fang) This is also a good time to add script to the armour. (note, I've used the flash on one of the next pictures to help show the vibrance of the yellow)
6 - metallic areas. For silver, paint leadbelcher over the black and wash with nuln oil. Once dry, highlight with runefang steel. For balthasar gold, use gold the gehenna gold. Wash with agrax earthshade then highlight with auric armour gold when dry. Note, I basecoated the weapons and painted the base while waiting for coats to dry.
7 - other details - I painted the purity seals rakarth flesh then washed with seraphim sepia and highlighted with pallid wych flesh. The crux terminatus was painted eshin grey, washed with nuln oil, highlighted with dawnstone then washed with agrax earthshade.
8 - plasma pistol - with the majority of the model finished all that remains is to sort the plasma pistol. Basecoat with caledor sky, then progressively highlight with teclis blue, temple guard blue, lothern blue, fenrisian grey and whitescar. Try to catch the surronding edges for a glow effect.
9 - power weapon - I used the same colours as for the plasma pistol to keep the effect uniform. The idea is to blend the colours from darkest to lightest on one surface, then the opposite way on the adjoining surface. Best way to do this is to put a blob of each colour on your palette, then once you've added a colour, mix it 1:1 with the next colour before moving on. I always start with the darkest. For example you'd put some caledor sky at the base of the axe and top of the blade, then mix caledor sky and teclis blue for the next band of colour, then pure teclis blue and so forth. It takes time and practice but is a great effect to master. Once done, highlight the edges with a colour a few shades lighter than the section of the axe, so temple guard blue for the caledor sky section and so forth. Once done, wash with guilleman blue then touch up the highlights once dry. I add a few energy discharges in whitescar around the cables also. The haft is doombull brown washed with agrax earthshade and highlighted with squig orange.
10 - weathering - very simply, get a stippling brush and stipple eshin grey (wipe most off the brush first) at areas most likely to chip, such as the kneepads etc. As I use a martian base theme, I also simulate red dust on the lower parts by drybrushing on squig orange.
And that's it folks, all done. Give it a spray with matte varnish then use ardcoat on the power weapon and plasma pistol. Hope it's useful and any questions please ask. Cheers.
Seems appropriate after the Games Day reveal that my next painting guide will be Imperial Fists - 3rd company no less! This is quite a complex one but the results are awesome so please give it a try.
Paint list:
Ceramite white
Abaddon black
Khorne red
Balthazar gold
Leadbelcher
Caledor sky
Rakarth flesh
Whitescar
Yriel yellow
Flash gitz yellow
Evil sunz scarlet
Fire dragon bright
The fang
Fenrisian grey
Eshin grey
Dawnstone
Squig orange
Doombull brown
Runefang steel
Gehenna gold
Auric armour gold
Teclis blue
Lothern blue
Temple guard blue
Lamenters yellow
Nuln oil
Agrax earthshade
Druchii violet
Reikland fleshshade
Lahmium medium
Ardcoat
1 - Basecoating - by far the most important step in painting an imperial fist. My method relies on a white base coat. I cannot emphasise enough how important a good base coat is for this method, and so would recommend a thin layer of ceramite white, followed by spraying the model white, and then another layer of ceramite white making sure you cover everything. Preparation is key.
2 - Yellow armour - add a few thinned layers of yriel yellow to the model giving an even coat. Add some lahmium medium to fire dragon bright and wash it into the recesses of the armour - don't worry if it isn't precise. (note, the citadel yellow wash may be good for this step also) Next, go back over the armour with yriel yellow tidying any excess orange. Add highlights using flash gitz yellow, then a final line highlight using dorn yellow (or mix FG yellow 1:1 with whitescar as I did). Finally, glaze the armour with lamenters yellow.
3 - red parts - with the yellow dry, move onto the red areas. Khorne red as a basecoat, followed by evil sunz scarlet highlights and a wash of carroburg crimson. Retouch the ES scarlet highlights when dry.
4 - face - OPTIONAL - I basecoated the face with cadian fleshtone then washed it with reikland fleshshade. Once dry, I mixed some rakarth flesh 1:3 with cadian fleshtone and added a full layer except in the recesses. Then I increased the ratio of the rakarth flesh in the mix adding a highlight layer on the raised areas. This was repeated a couple of times until the ratio was 3:1. Next I painted the eyes with whitescar and pupils with abaddon black. A thin wash of druchii violet was added around the eyes. Finally, eshin grey was painted on the beard, highlighted with dawnstone.
5 - black areas - the most dangerous part so take your time and use appropriate sized brushes with the paint appropriately thinned. Mixing abaddon black 1:1 with nuln oil can be useful for a nice flowing mix. Paint the majority of the black area with a larger brush then switch to smaller for where it meets the yellow. If you do make a mistake you can always use ceramite white to correct it later. Abaddon black for the areas, then highlight with eshin grey and dawnstone. (except for leather pouches which were highlighted with the fang) This is also a good time to add script to the armour. (note, I've used the flash on one of the next pictures to help show the vibrance of the yellow)
6 - metallic areas. For silver, paint leadbelcher over the black and wash with nuln oil. Once dry, highlight with runefang steel. For balthasar gold, use gold the gehenna gold. Wash with agrax earthshade then highlight with auric armour gold when dry. Note, I basecoated the weapons and painted the base while waiting for coats to dry.
7 - other details - I painted the purity seals rakarth flesh then washed with seraphim sepia and highlighted with pallid wych flesh. The crux terminatus was painted eshin grey, washed with nuln oil, highlighted with dawnstone then washed with agrax earthshade.
8 - plasma pistol - with the majority of the model finished all that remains is to sort the plasma pistol. Basecoat with caledor sky, then progressively highlight with teclis blue, temple guard blue, lothern blue, fenrisian grey and whitescar. Try to catch the surronding edges for a glow effect.
9 - power weapon - I used the same colours as for the plasma pistol to keep the effect uniform. The idea is to blend the colours from darkest to lightest on one surface, then the opposite way on the adjoining surface. Best way to do this is to put a blob of each colour on your palette, then once you've added a colour, mix it 1:1 with the next colour before moving on. I always start with the darkest. For example you'd put some caledor sky at the base of the axe and top of the blade, then mix caledor sky and teclis blue for the next band of colour, then pure teclis blue and so forth. It takes time and practice but is a great effect to master. Once done, highlight the edges with a colour a few shades lighter than the section of the axe, so temple guard blue for the caledor sky section and so forth. Once done, wash with guilleman blue then touch up the highlights once dry. I add a few energy discharges in whitescar around the cables also. The haft is doombull brown washed with agrax earthshade and highlighted with squig orange.
10 - weathering - very simply, get a stippling brush and stipple eshin grey (wipe most off the brush first) at areas most likely to chip, such as the kneepads etc. As I use a martian base theme, I also simulate red dust on the lower parts by drybrushing on squig orange.
And that's it folks, all done. Give it a spray with matte varnish then use ardcoat on the power weapon and plasma pistol. Hope it's useful and any questions please ask. Cheers.
Subscribe to:
Posts (Atom)